


Draper Header Belts: Troubleshooting Common Problems
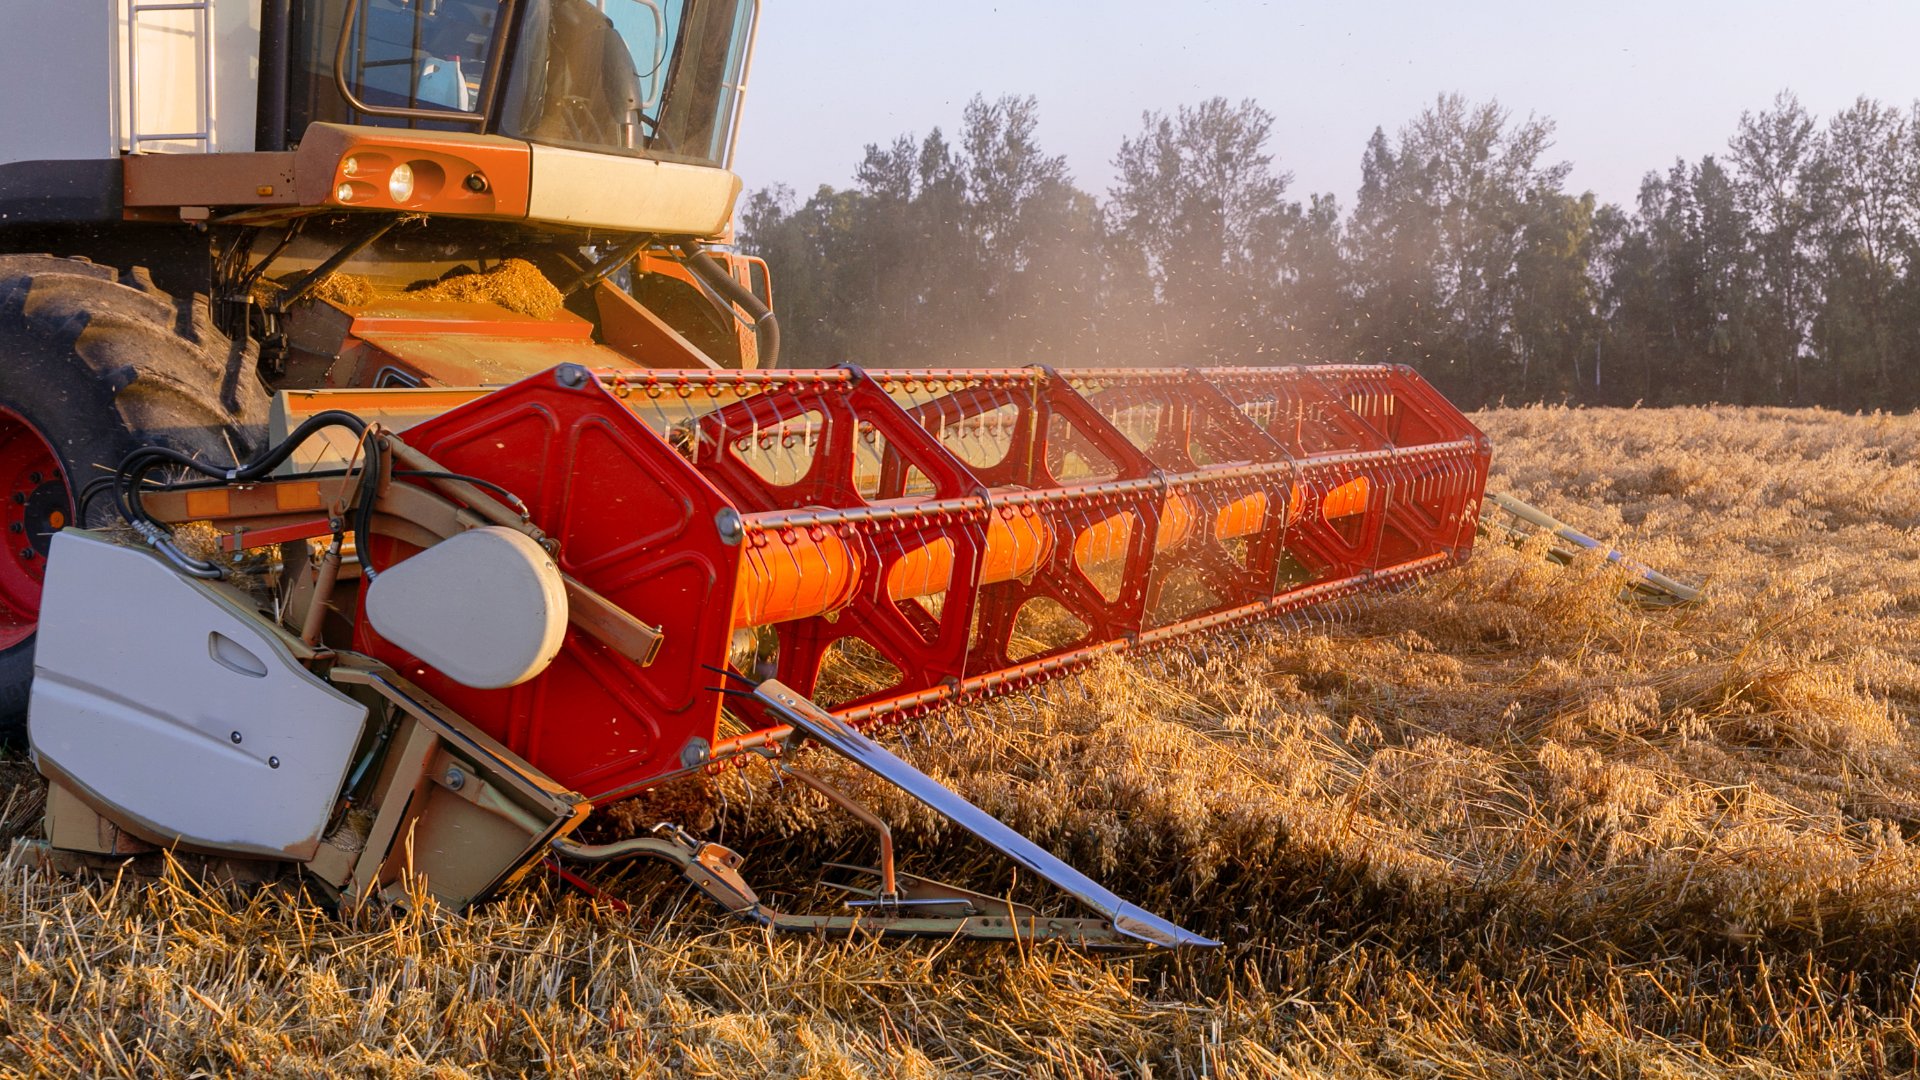
Harvest has a way of testing both machinery and patience. A draper header may run smoothly through one field, then start pulling crop unevenly, making an unfamiliar sound, or pushing a belt toward the edge of a roller. In Northeast Wyoming and Southwest South Dakota, where weather can narrow the harvest window, a small mechanical issue can quickly become a major interruption.
The good news is that many belt problems provide clues before they cause a complete shutdown. Careful observation, a clean machine, and measured adjustments can help operators identify what has changed. Keep reading to understand the most common problems with draper header belts, and discover some troubleshooting tips and solutions.
1. The Belt Keeps Wandering Sideways
A draper belt should travel in a consistent path across its rollers. When it begins moving toward the cutter bar, back sheet, or one side of the frame, something is disturbing that path. Uneven tension, debris around a roller, worn components, or an out-of-square roller can all influence belt movement.
Stop the machine before inspecting the belt path. Follow the equipment manufacturer’s shutdown and lockout procedures, then check for packed crop material, mud, twine, stones, and damaged belt edges. In local fields, dry residue can collect quickly, while damp material may cling to areas that appear clean from a distance.
Make Tracking Changes Slowly
Tracking corrections require patience. A large adjustment can send the belt too far in the opposite direction, creating a new problem. Make a small change, secure the adjustment, and test the belt at low speed from a safe position.
Operators should follow the instructions for their specific header model because adjustment locations and procedures vary. This guide explains how to adjust the tracking on a draper header belt.
2. The Belt Slips Under a Heavy Crop Load
Another common problem with draper header belts you may have to troubleshoot for is belt slippage. A belt that moves normally while empty but slows or slips when crop enters the header may lack sufficient tension or roller grip. Moisture, worn roller surfaces, incorrect belt tension, and heavy crop buildup can reduce traction. A slipping belt may also produce uneven feeding, heat, noise, or a polished area on the roller.
Begin with a full visual inspection rather than tightening the belt immediately. Remove any material around the rollers, examine the belt surface, and check the manufacturer’s tension indicators or measurement procedure. Excessive tension can strain bearings, rollers, splices, and the belt itself, so tighter does not automatically mean better.
Check the Drive System Too
The belt may not be the only source of slipping. Hydraulic performance, drive components, bearings, and roller condition can affect belt speed and pulling power. Listen for changes in sound, watch for hesitation, and compare movement across the header.
A belt that continues to slip after cleaning and correct tensioning deserves a closer mechanical inspection. Repeatedly tightening it can conceal the real cause while placing additional stress on other components.
3. Crop Feeding Becomes Uneven
Draper headers rely on steady belt movement to carry cut material toward the center feed section. When one side delivers more slowly than the other, crop may bunch, hesitate, or enter the combine in irregular waves. The operator may notice changes in engine load, feeding noise, or the appearance of the windrow.
Uneven feeding can result from different belt speeds, poor tracking, inconsistent tension, buildup beneath the belt, or crop conditions that exceed the current machine settings. Before changing several settings at once, identify whether the problem remains on one side, appears only under load, or changes with ground speed.
Match Belt Speed to Field Conditions
Crop density, moisture, direction of travel, and field shape can affect how material reaches the header. A suitable setting in a dry, uniform field may not perform the same way in lodged grain or a heavier section near a low spot.
Adjust one variable at a time, then observe the result. This method makes it easier to determine whether belt speed, travel speed, reel position, or another setting improved the feeding pattern.
4. The Belt Edge Starts Fraying
A frayed edge is not just a cosmetic issue. It usually means the belt has rubbed against another surface, tracked outside its normal path, or suffered damage from debris. Continued operation can enlarge the damaged area, weaken the belt, and increase the chance of a failure during harvest.
Inspect the entire belt edge, not just the most visible section. Look for a repeating wear pattern, cuts, exposed reinforcement, damaged cleats, loose fasteners, and contact marks on nearby metal. A single sharp point or bent component can damage the same location each time the belt completes a rotation.
Decide Whether Repair is Still Practical
Minor damage may qualify for a model-approved repair, but location and severity matter. Damage near a splice, guide, connector, or heavily stressed area may require a different response than a small surface cut. Repairs must use compatible materials and follow the header or belt manufacturer’s instructions.
A belt with extensive edge loss, deep cuts, separation, or recurring damage may need replacement. Before installing another belt, correct the condition that harmed the first one. Otherwise, the new belt may follow the same destructive path.
5. The Belt Makes a New Noise
A new squeal, scrape, thump, or rhythmic click deserves attention. Machinery rarely adds sound without a reason. The source may be debris, a connector, a bearing, a loose component, belt contact, or an irregular roller surface.
Note when the sound appears. Does it occur once per belt revolution, only under crop load, or at a particular speed? A repeating sound can help identify a damaged section or connector, while a continuous scrape may point to misalignment or contact along the belt path.
Use Sound as an Early Warning
Shutting down for an inspection may feel inconvenient when conditions are right, and acres remain, but a brief stop can prevent a much longer delay. Follow safe shutdown procedures, clear loose material, and check the belt, rollers, bearings, guards, and connectors.
Never reach into a moving header or attempt to identify a sound by getting closer to operating components. When the source remains unclear, consult the operator’s manual or contact a qualified technician or dealer.
Know When to Stop Adjusting
Field repairs have limits. A belt that refuses to track, repeatedly loses tension, shows structural damage, or continues slipping after basic checks may indicate a worn roller, bearing problem, damaged frame component, incorrect installation, or another condition that requires professional attention.
Effective troubleshooting depends on resisting the urge to guess. Start with safety, inspect the full system, make one change at a time, and follow the specifications for the exact machine. That approach protects the equipment, reduces unnecessary adjustments, and gives harvest crews a better chance of keeping crop moving when the weather cooperates.